Through Octolis, the data that you are able to synchronize to your external systems are Datasets.
These Datasets can be composed of several entities (“Contacts”, “Products”, “Orders”, “Orders Items”, “Consents” etc.)
It can't be one of your database tables.
Sync all tables or only incremental change
By default, for all types of integrations (API, database, ftp) the sync will be incremental. This means that only new values since the last update will be updated.
If necessary, you can also send whole tables at regular intervals.
Of course on initiation, we will send the complete table.
Matching existing data in my destination tool
Sometimes, you will want to send data that already exists in your destination tool (e.g. Sending contacts that are already present in Sendinblue, with their email address).
How does Octolis detect that a record already exists?
Octolis will refer to the destination’s primary key. In the case of Sendinblue, it would be the email only. For some more advanced tools (e.g. Salesforce), there will be primary and secondary keys.
What happens when Octolis detects a match?
If Octolis detects a match, and therefore the record already exists in the destination tool, then Octolis automatically detects if the record already exists and :
Updates it.
Otherwise, creates a new record.
Does it work the same way for more advanced tools like Salesforce?
Yes. Octolis only uses the external system entity's primary key.
The secondary keys in reality are mostly columns that have a uniqueness constraint, not always relevant to send data on these columns.
What if I don't have this primary key?
Sometimes, your destination tool will require a primary key that you might not have within your Octolis dataset.
Example :
Within Salesforce :
Primary key: Company ID
Secondary key: SIRET
Within Octolis :
Primary key: SIRET
In that case :
Octolis will send your dataset to Salesforce trying to create a new record (since the secondary key 'SIRET' doesn't match)
We will get an answer from Salesforce > Impossible, the record already exists, here is the ID of this record
Octolis will then make automatically a new attempt (retry), applying the correct mapping and thus updating the record (and not creating a new one).
What if I want to replace the entire dataset in my destination?
As mentioned previously, by default a sync is incremental.
If needed, you are still able to replace an entire dataset, depending on the type of destination:
Csv / ftp: You can send your whole dataset at once. Deleting the existing dataset to replace it with the Octolis dataset.
DB:
Same logic but with constraints as your database can be used by other tools (e.g. BI tools)
Octolis is the only table administrator:
We will delete the entire dataset and replace it with the Octolis one.
Octolis is not the only table administrator:
We will first make all columns configured ‘NULL’ and then sync your Octolis dataset in order to keep columns needed for another tool to operate.
API:
The tool has to be used in a bi-directional way (source and destination).
Monitoring my syncs
How do I make sure that my sync worked well?
Again, it depends on the destination types:
db + csv (ftp) :
For these integrations, there is no details record by record, only if a sync works or not as a whole.
In the interface, I access the sync’s last execution and the status: succeed or failed.
API:
The same logic failed/succeed for the whole sync.
You also have access to a log table within the database, with the sending status of each record with the response of the third-party API.
If one of my requests is blocked by the destination tool, what happens?
Different types of retry depending on the type of error:
‘Business’ retry:
Error: Sometimes you might try to update a record that does not exist anymore.
Solution: Octolis will then automatically detect it and retry by creating a new one.
Technical retry:
Error: The API can be reached due to a connectivity problem on the destination tool side.
Solution:
Octolis will try again, 3 times: 3, 5, and 10 sec later.
Even if there is still no answer, Octolis will stop there until the record is updated again. Don’t panic, we compute aggregates on a daily basis which means that most of the records are updated every day.
Do our sync flows take into account the API limit of each connector?
Octolis does respect connectors’ API quotas. You will find the detail within the connector section.
💡
Reminder: an API limit applies to an entire connector, not a specific entity.
For each sync, you can set :
Time window: The given period on which we will apply the rate limiting.
Request Volume: Number of requests that you will be able to make within this time frame.
2. Implementing a new sync, step by step
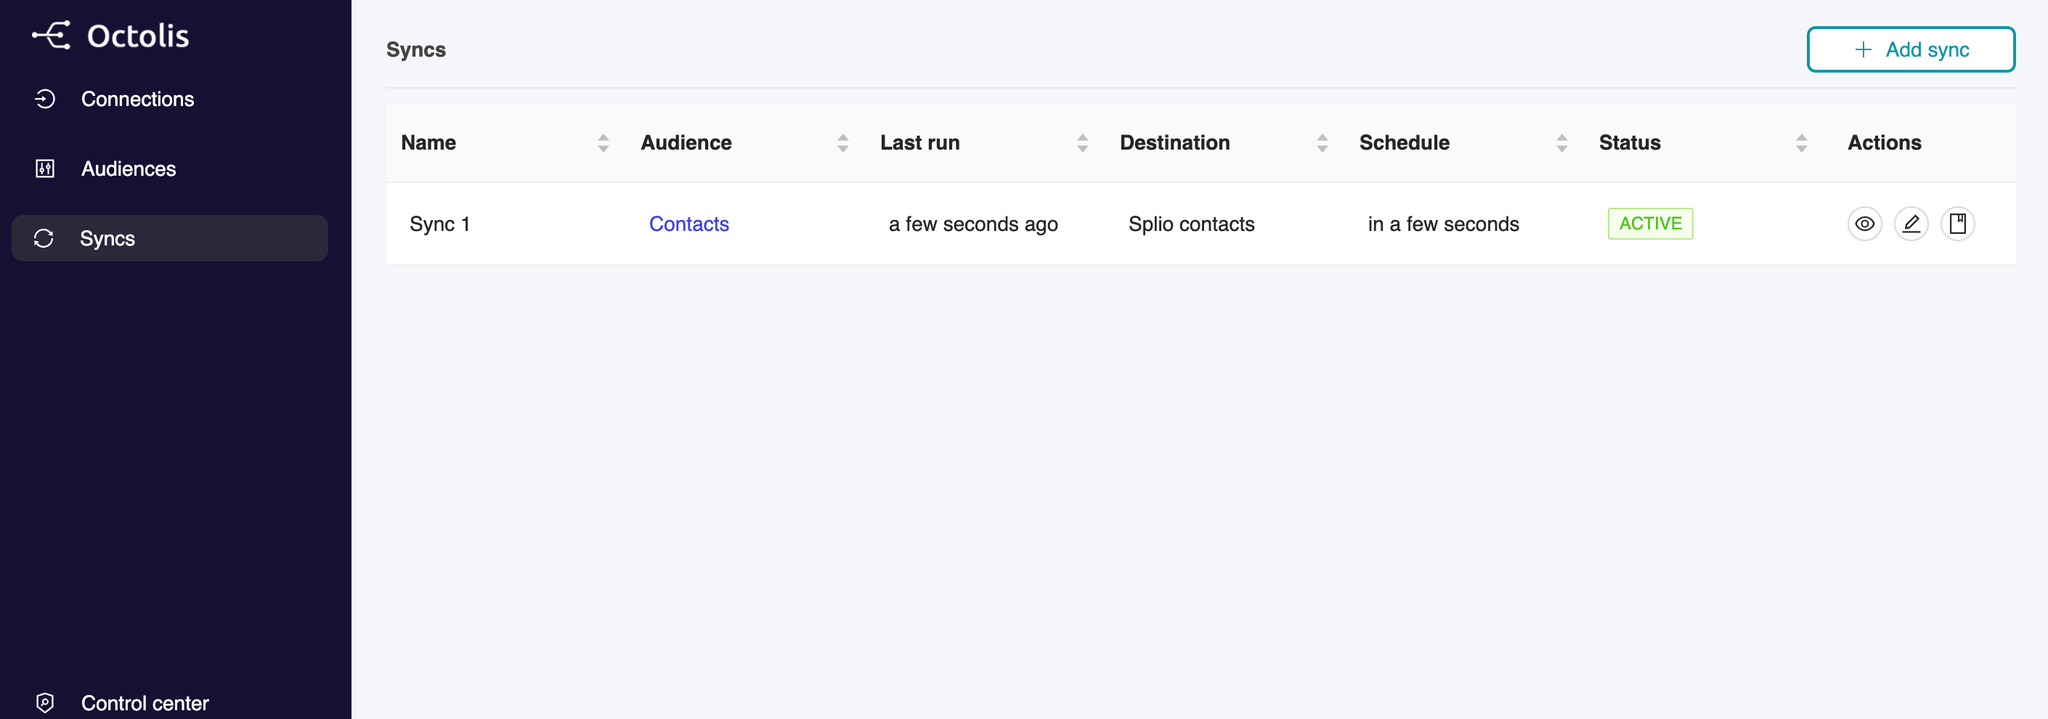
1 - Create a new Sync
From the left Menu, click on “Syncs”, then click click on “Add sync” at the top right.
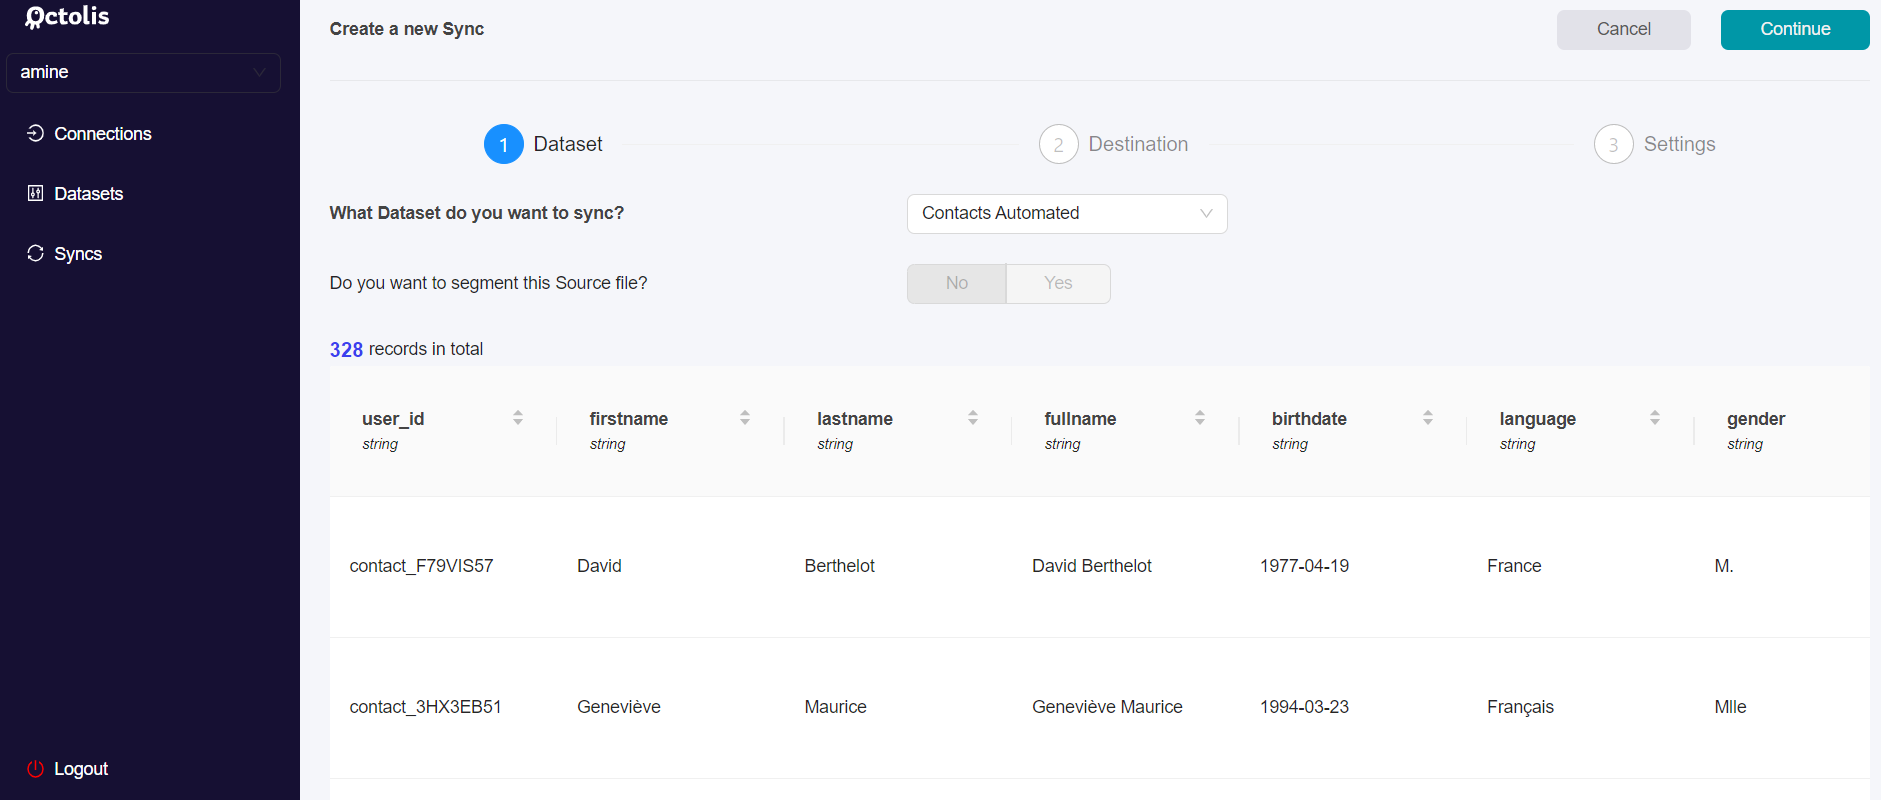
2 - Choose your Dataset
Step 1 - Select the Dataset you want to sync
First, you will be invited to choose the dataset you wish to connect with for this sync amongst the datasets you have previously created.
In case the dataset you need is not available in the above list you have the option to Add a “New dataset”.
If you need further information about it, you can check our Help Center page to create a new dataset.
Step 2 - Add filter (optional)
If you don’t want to Sync all the data in a given Dataset, you can turn on the Segment feature in order to apply filters.
On the right above the dataset table, you have access to a list of filters you can use to segment your data.
Choose the filter you need, and then a pop-up will open and ask you for the operator associated. Click on the operator that fits your use case and click “Apply Filter”.
For some specific filters, you will need to add a value also.
💡
If you believe this filter will be useful for another time, you can save it as a quick filter. You just have to tick and name your quick filter
Check on your table your dataset if possible in order to avoid any mistakes.
Then press “Continue” to access the next step.
3 - Sync the Dataset to a Destination
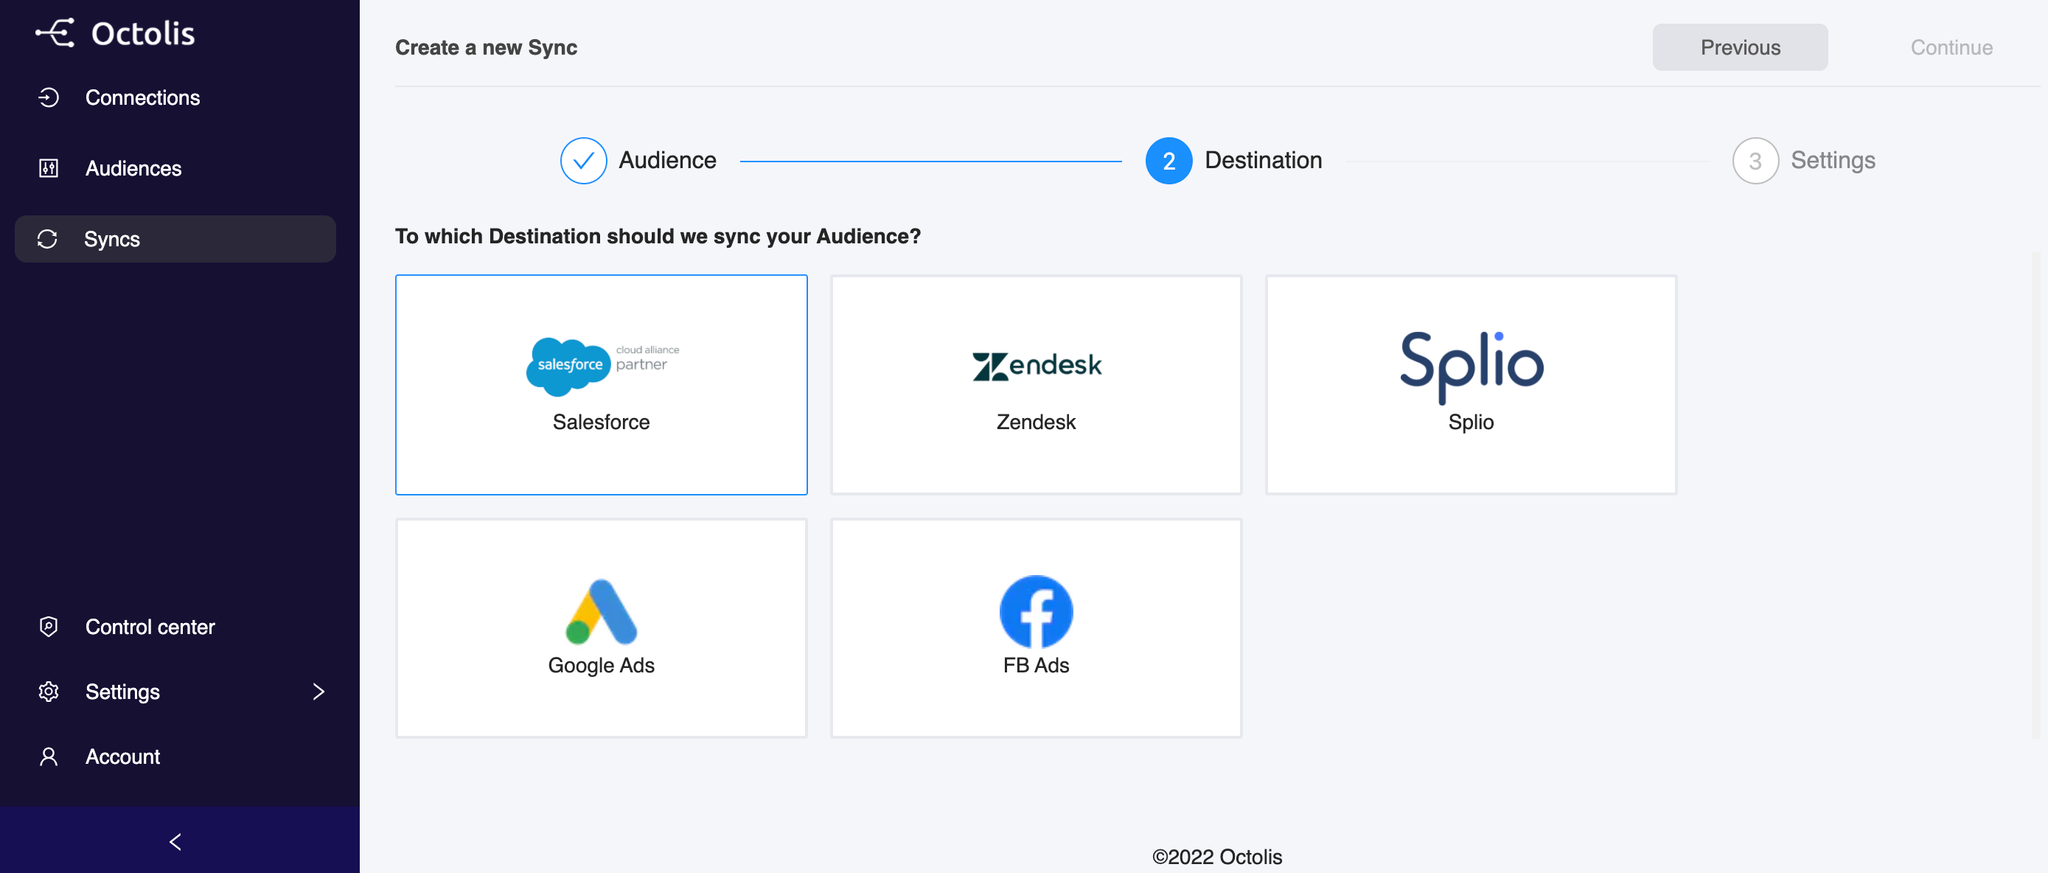
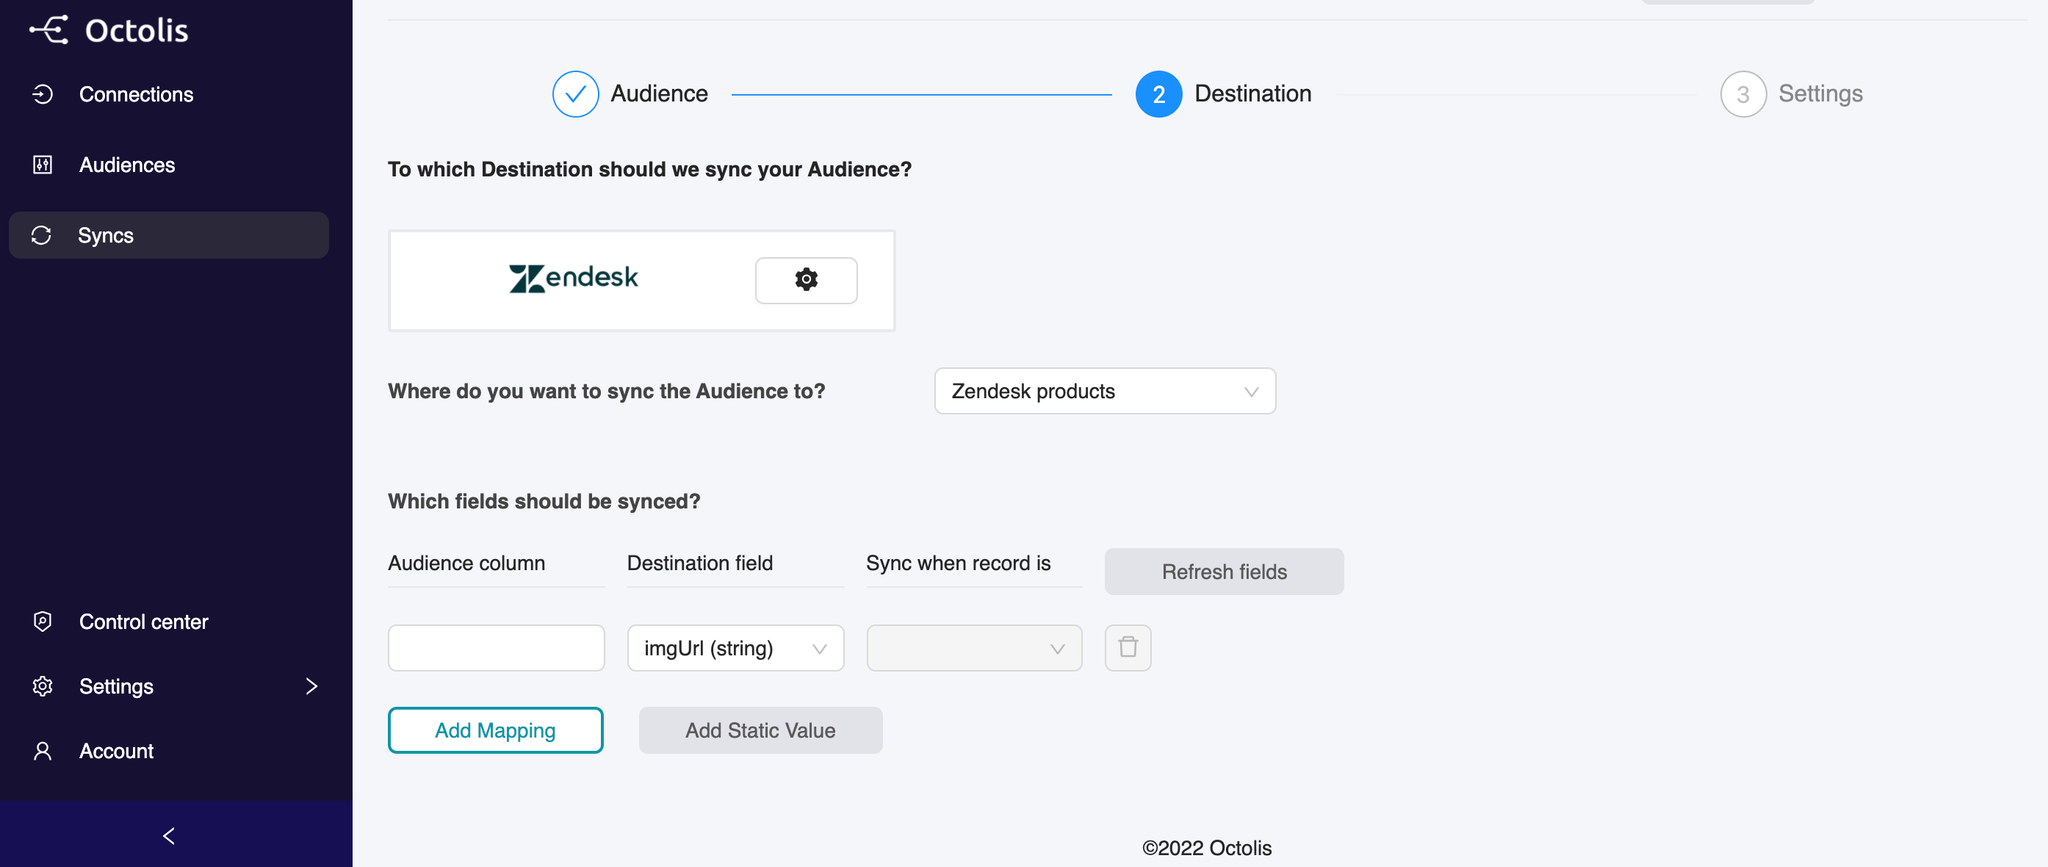
Step 1 - Choose the Destination
The objective here is to choose the fields from your data source that will be exported to your destination tool.
As said before, you can choose among our destination connectors for software like: “Splio”, “Zendesk”, “Salesforce”, “Facebook Ads”, “Google Ads”.
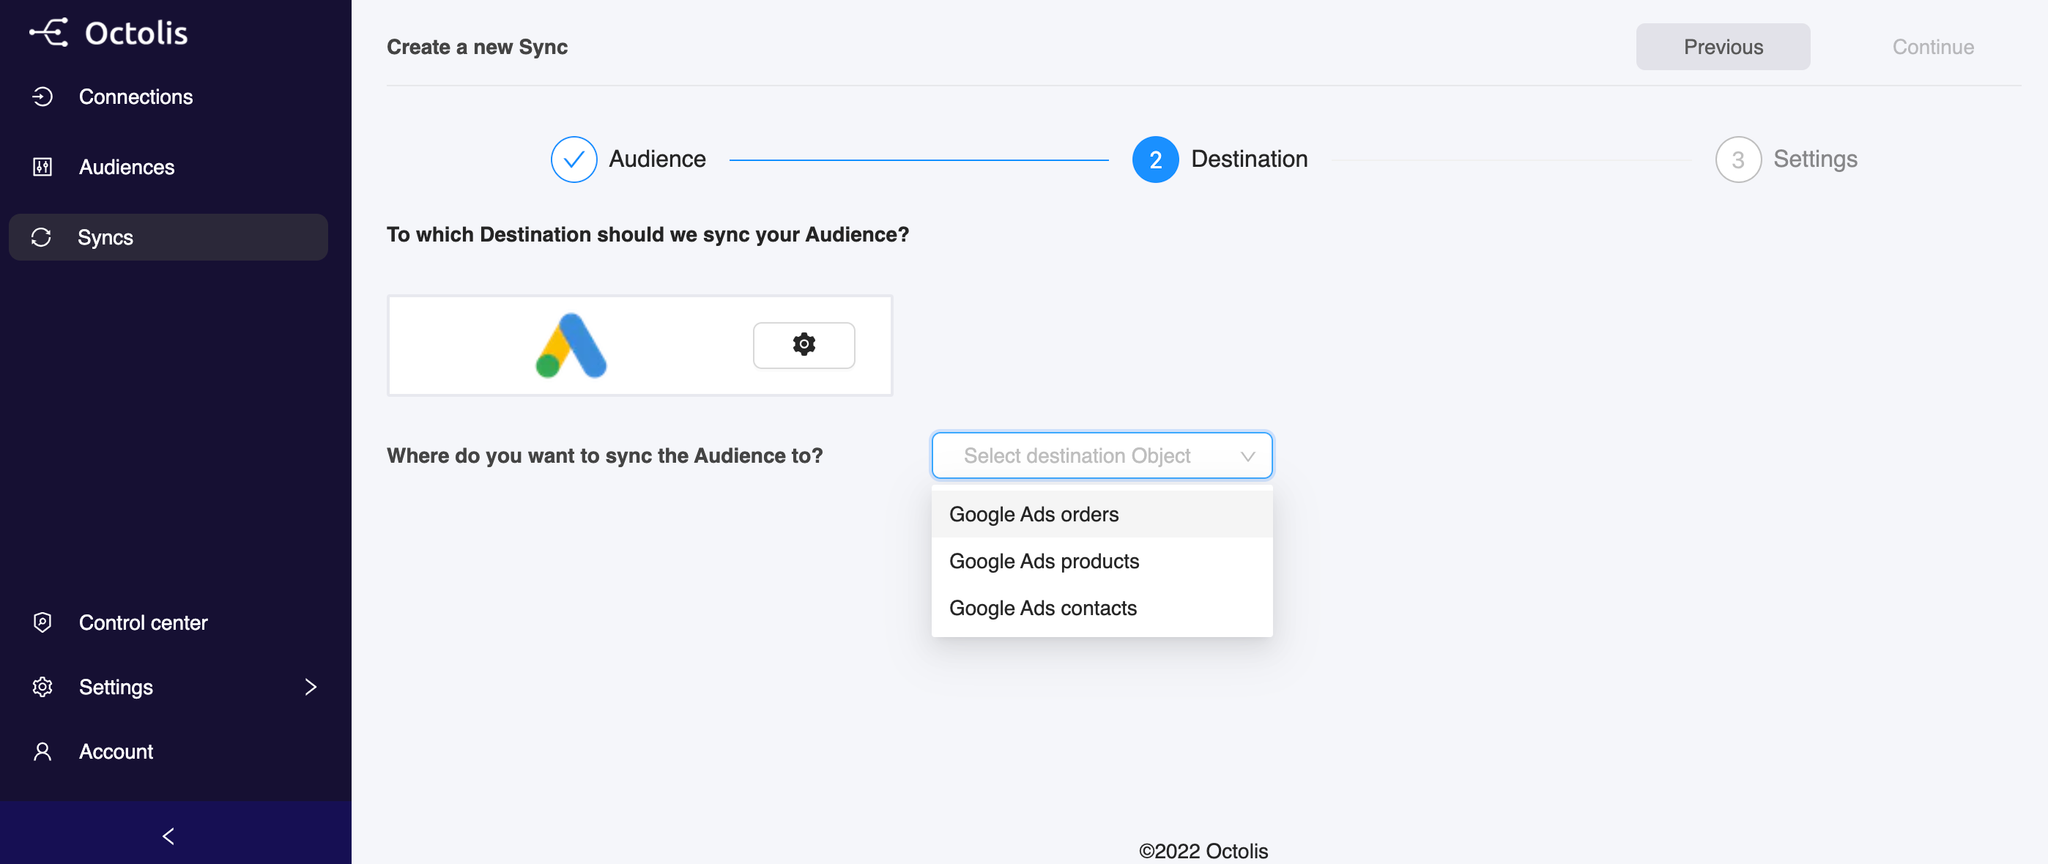
Step 2 - Where do you want to sync the Dataset to?
Depending on your Destination, you will be invited to choose among different options:
Contacts
Products
Orders
Step 3 - Which fields should be synced?
The objective here is to create a mapping of the fields you want to sync between your Dataset and your Destination :
In the Dataset column, select the field you want to Sync
In the Destination column, select the name of the field in your software
After mapping your first field you can add more by clicking on the Add Mapping button.
Note that you can also send a Static value into a given field of your destination, which can be very convenient for some specific use cases.
3 - Settings
The first step is to give a name to your Sync.
Then in response to “What should we do when a record leaves the Dataset?” you can choose to: Do nothing or Delete the corresponding record in the destination.
You also need to decide whether you want to sync your Dataset in real-time, in a regular interval, or just run it manually once.
If you feel ready to activate your Sync, just make sure that the toggle is on, otherwise, you deactivate Sync to save your settings and come back later.
Finally, click on the “Add sync” at the top right.