Overview
This connector can be used as a source and as a destination
- As a source, you can import one or several CSV or JSON files
- As a destination, you can send dataset records to SFTP CSV files
Setup
Pre-requisites
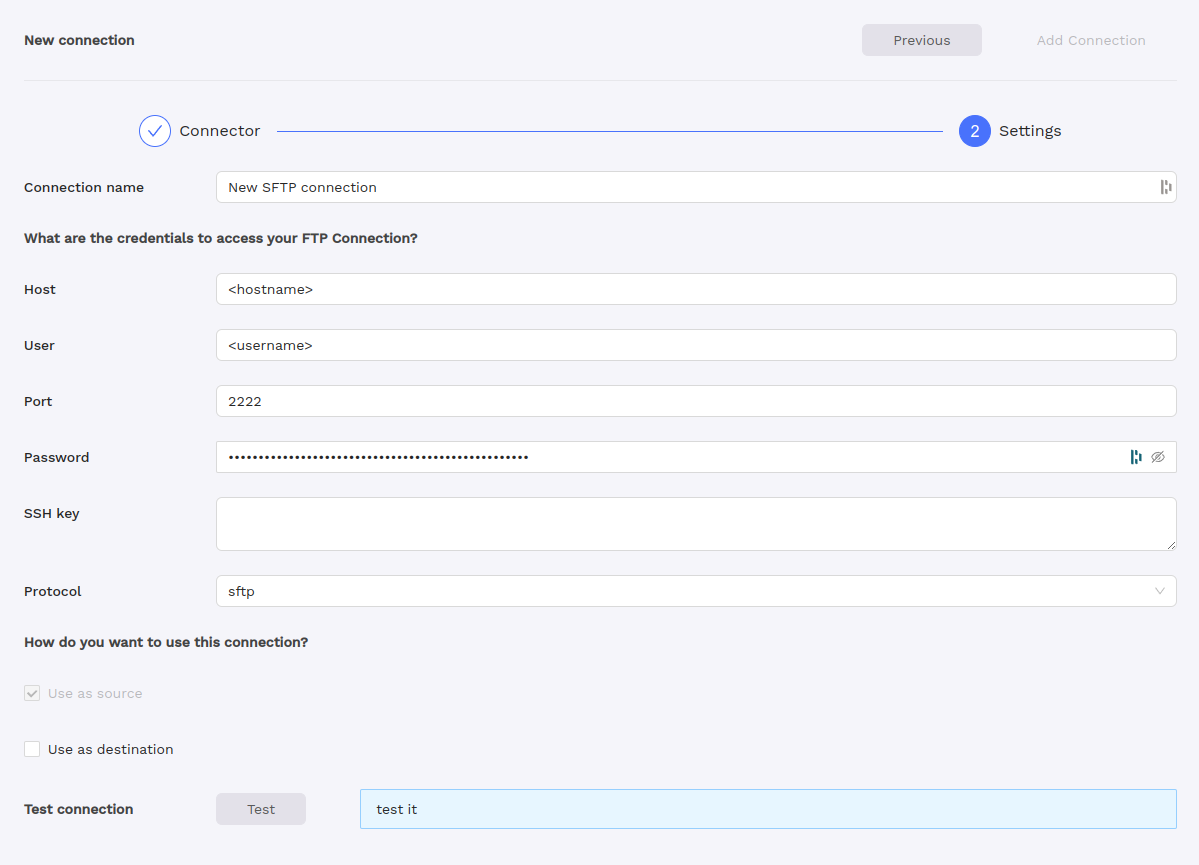
To connect to the (S)FTP server, you have two options for authentication: credentials authentication using Password or SSH key-based authentication in which you will need your Private SSH key.
In both methods, you will need the Host, the User and the Port of the server.
Create Octolis (S)FTP connection
To create an (S)FTP connection, navigate to Connections page and add a source/destination (S)FTP connection.
Import (using as a source)
The SFTP connector in Octolis enables the import of CSV or JSON files into the platform. Users can leverage the Octolis SFTP connection to either create a new dataset or augment an existing one by adding a new data source.
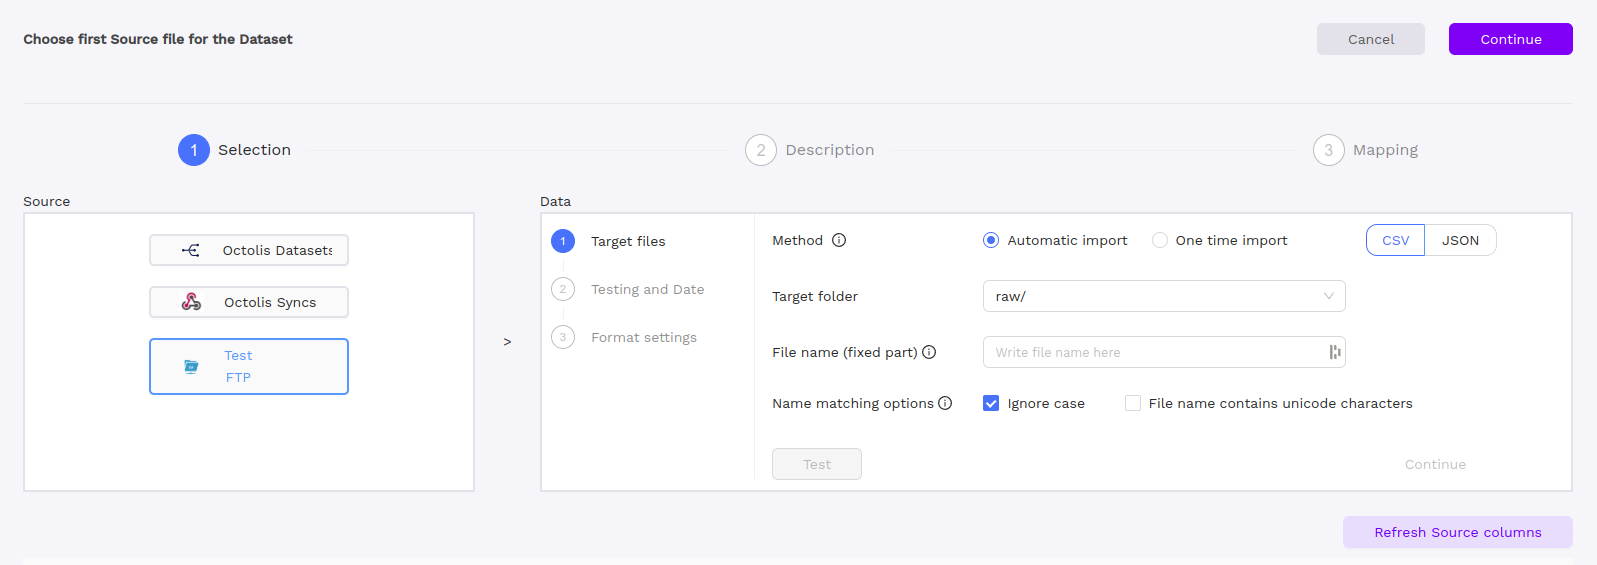
In Data section of Selection step, you choose either the One time import or the Automatic import method.
One time import
The One-Time Import method within the SFTP connector is designed for scenarios where a single, unique file needs to be imported as a data source. This method is ideal when there's a specific "init" file, and no future updates or changes are expected for that particular source.
Automatic import
The Automatic Import method provides greater flexibility by allowing users to specify a start filename. For instance,
contacts_ will match files begining with contacts_ (ex:contacts_20230919.csv). It has the capability to handle regular expression patterns, such as contacts_\d{8}.csv$.This approach is particularly useful when dealing with multiple files that follow a naming convention or when new files are regularly added to the SFTP directory. Automatic Import ensures seamless integration and data updates based on the defined pattern.
Extracting date from filename
In this feature, you have the ability to automatically extract the "modified at" column value from the filename. For instance, if your filename follows a pattern like
contacts_\d{8}.csv, where the eight digits correspond to the date of file generation, you can capture this date using regular expressions. This extracted date can then be used as the "modified at" timestamp of the source. This process is seamlessly integrated into the Testing and Date step, where you simply check Yes as shown in the provided image and specify the capture pattern.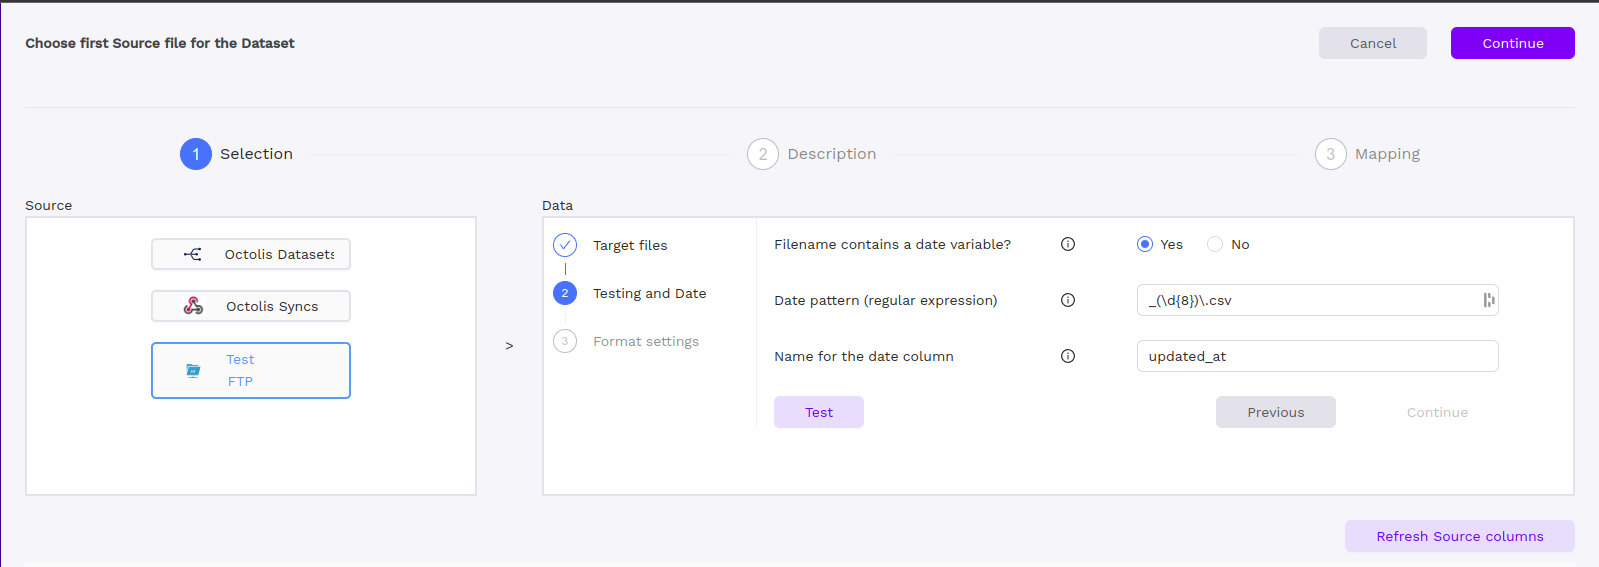
JSON file format settings
When importing a JSON file, you will be prompted to specify the Records path. This path indicates the location of the records array within the JSON file.
For instance, consider the following content in a JSON file:
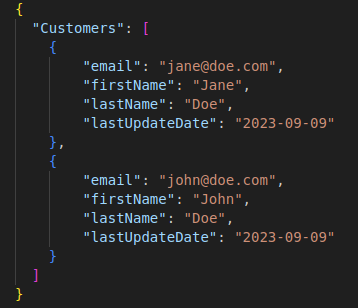
In this example, the records are identified by the key
Customers Therefore, the Records path should be set as Customers.*.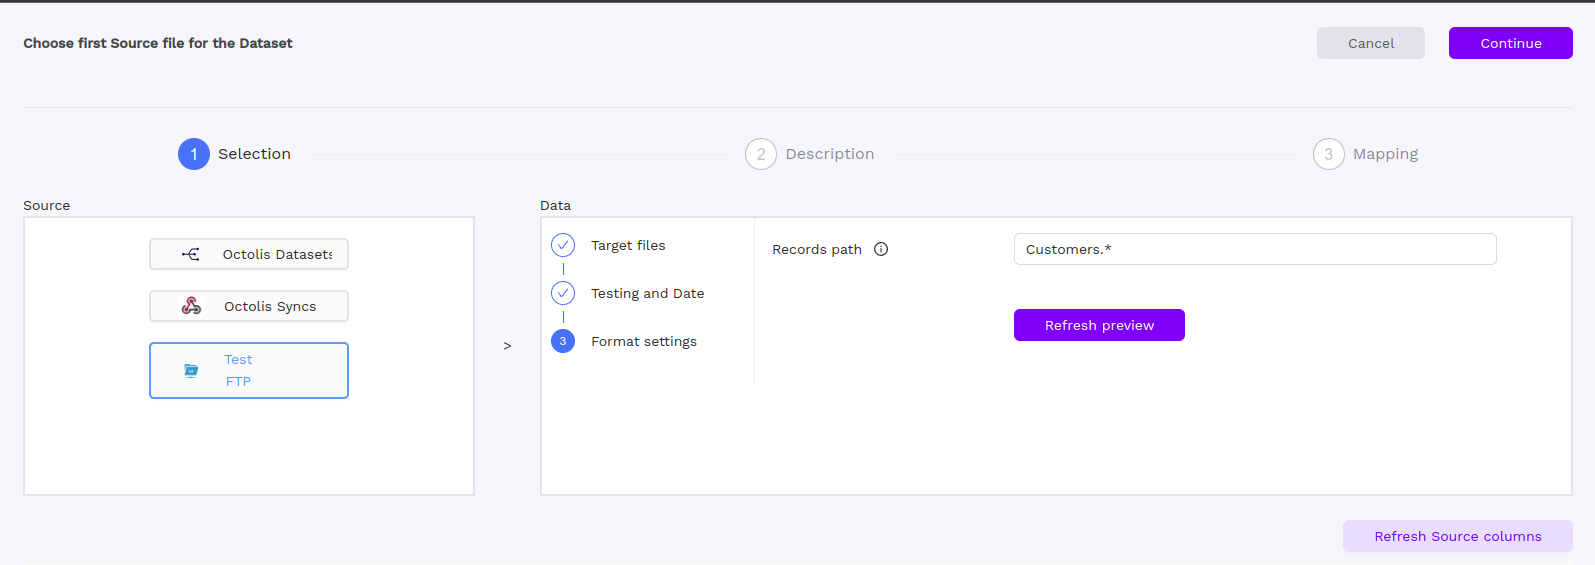
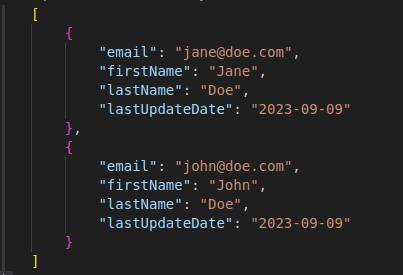
In case of JSON array, you can simply use
*.
For JSON Lines, if you wish to import the entire records, you can leave the Records path field empty.
Syncing (using as a destination)
Field mapping
You can sync any column from your dataset source to new (S)FTP file.
Date-based destination filename
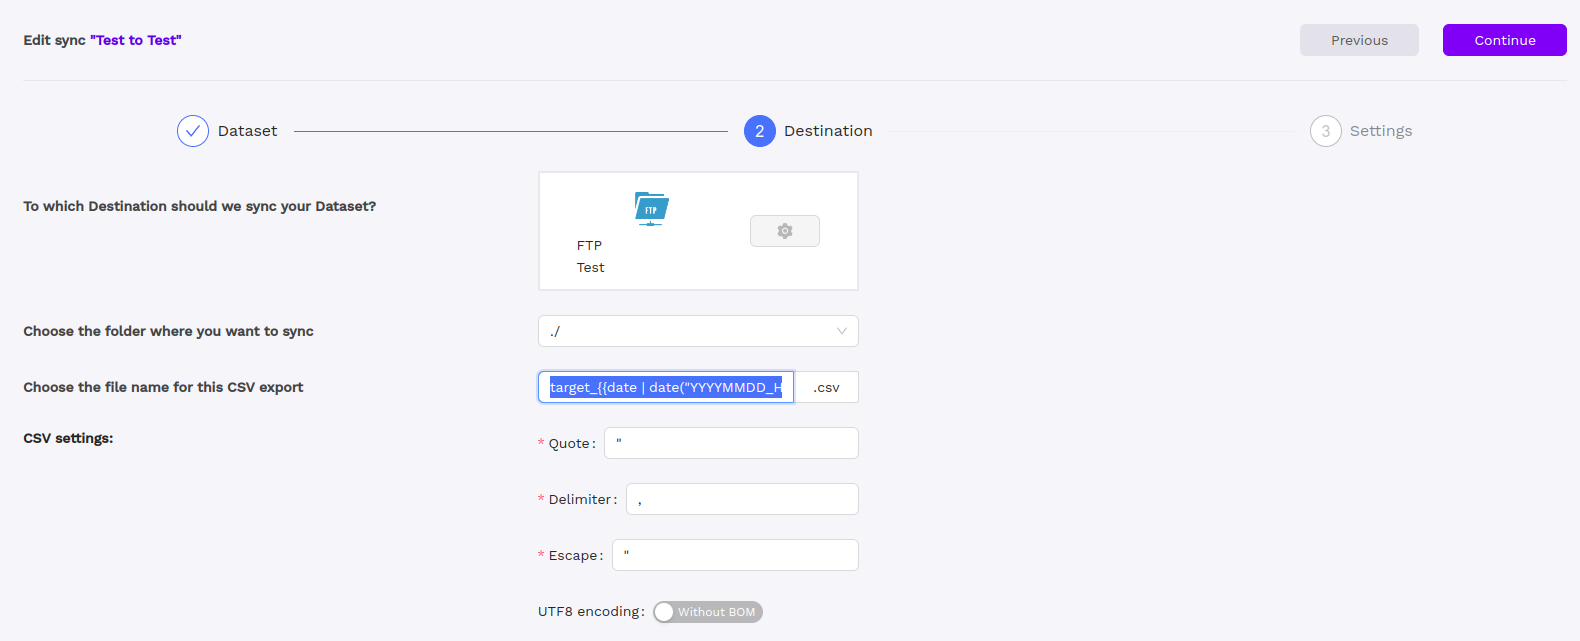
To configure the FTP destination filename pattern and enable the inclusion of the export date, you can base on the following syntax:
target_{{date | date("YYYYMMDD_HHmmss")}}. This format will result in an output example such as target_20230919_140328 ensuring that each export generates a new file with a timestamp. This can be really usefull if you want to preserve historical data instead of overwriting the previous one.