
1. Definition and context
1 - Definition
Webhooks are widely used nowadays as they are key to allowing multiple systems to interconnect and keep actions consistent among them. They're also known as "URL Callbacks" or "HTTP push calls".
When an event or status change occurs in a system, an HTTP request is sent to the given URL in real-time. This call contains information related to that specific event (e.g. Time it occurred, name of the event, key identifiers).
2 - In Octolis
In the case of a Customer Data Platform like Octolis, it makes sense to use webhooks in specific cases:
- When there is no native connector available for a given source
- When a real-time or near real-time synchronization is required between the source and the CDP.
For instance, Octolis can send a webhook to another application whenever a new customer record is created or updated. The receiving application can then utilize the information to take appropriate action such as adding the customer to a marketing campaign or updating a CRM system.
For the moment, webhooks are only available as Sources in Octolis. They will soon be also available as Destinations.
3 - Webhooks Limitations
However, webhooks usage presents some drawbacks such as the lack of access to request logs or history. Unlike traditional API requests where logs are readily available, webhooks typically do not provide a built-in mechanism to track or review past requests. This can pose challenges when troubleshooting or investigating issues related to webhook deliveries or responses.
2. How do webhooks work?
A webhook is actually an HTTP callback that occurs when something happens.
Most often, webhooks are HTTP callbacks that are user-defined. They allow you to register a URL http:// or https://, where the event data can be stored in JSON or XML format. Once these settings are made, you can do whatever you want with the data you retrieve and store from an event.
This URL is called the webhook endpoint. Endpoints must be public, and it is important that this URL belongs to the receiving system. The callback is triggered whenever an event occurs that you want to notify another system about.
More details about webhook settings
List of the settings required when creating a webhook:
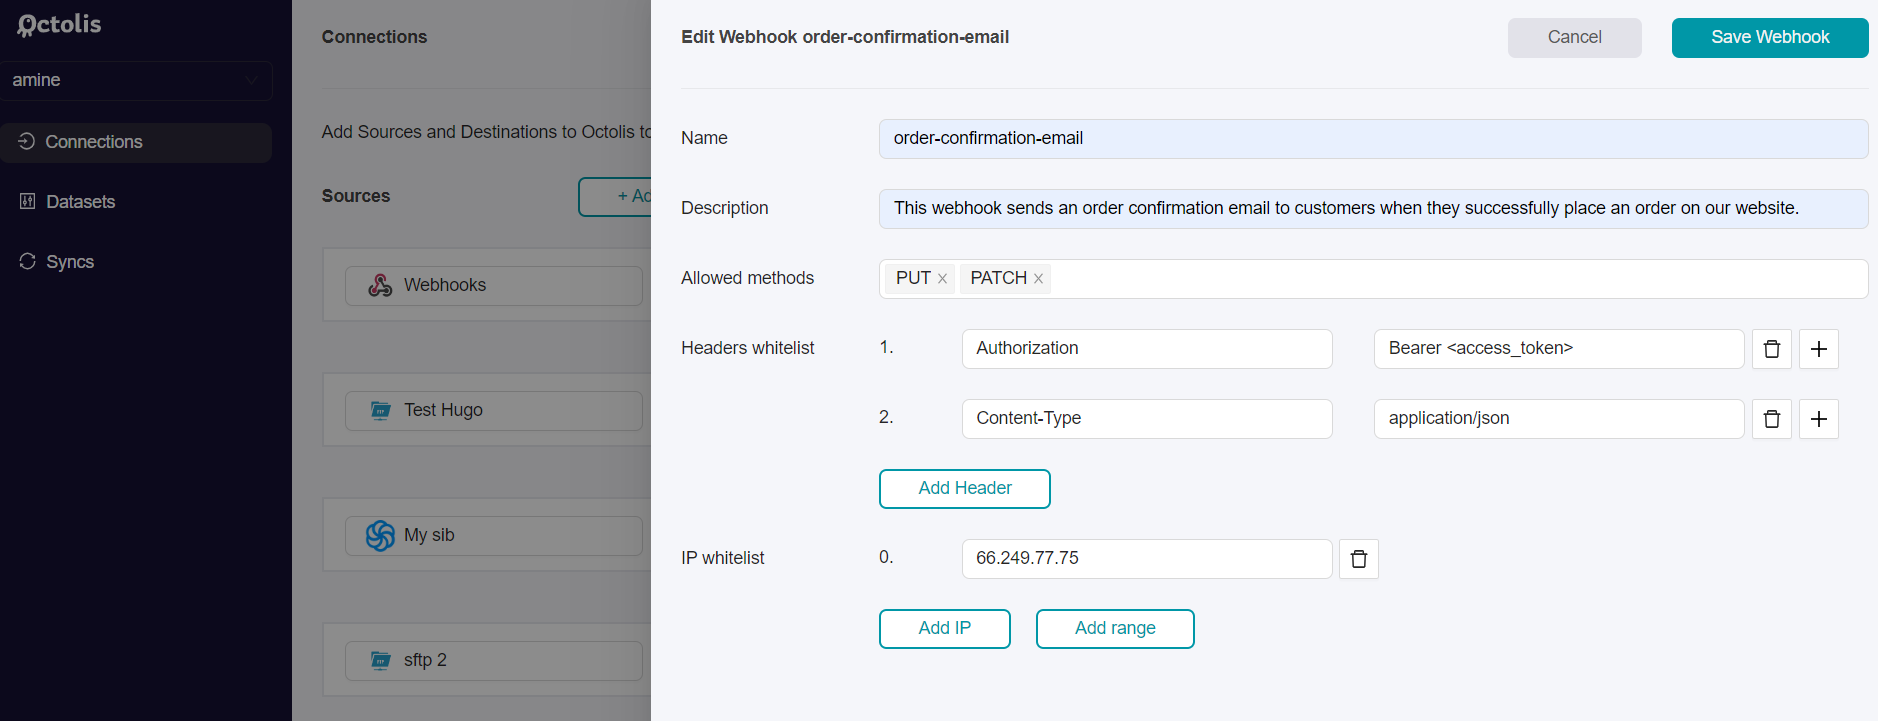
- Description: A brief description of what the webhook does, its purpose, and how it can be used. It can be helpful for developers or users who are trying to understand how the webhook works.
- Allowed methods (methodsWhitelist): A list of the HTTP request methods that are allowed for the webhook. For example, if the
methodsWhitelistonly includesPOST, the webhook will only accept incomingPOSTrequests. This helps to limit the scope of incoming requests and prevent unauthorized access. - POST: This method is used to submit data to a server to create a resource. It is often used when creating a new resource or submitting a form.
- PUT: This method is used to update an existing resource on the server. A PUT request can be used to replace an entire resource at a specified endpoint.
- PATCH: This method is used to partially update an existing resource on the server. It can be used to update specific fields or properties of a resource at a specified endpoint.
A reminder of the different methods:
- Headers whitelist: A list of the headers that are allowed to be included in incoming requests to the webhook, along with their respective values. This can help to prevent malicious requests from being sent to the webhook and to ensure that only valid requests are processed.
- ipAddressWhitelist: A list of the IP addresses that are allowed to access the webhook. This is a security feature that helps to prevent unauthorized access to the webhook. Only requests originating from the specified IP addresses will be allowed to access the webhook, all other requests will be blocked.
3. Creation Process
1 - Webhook Creation Tutorial
To create a webhook on Octolis:
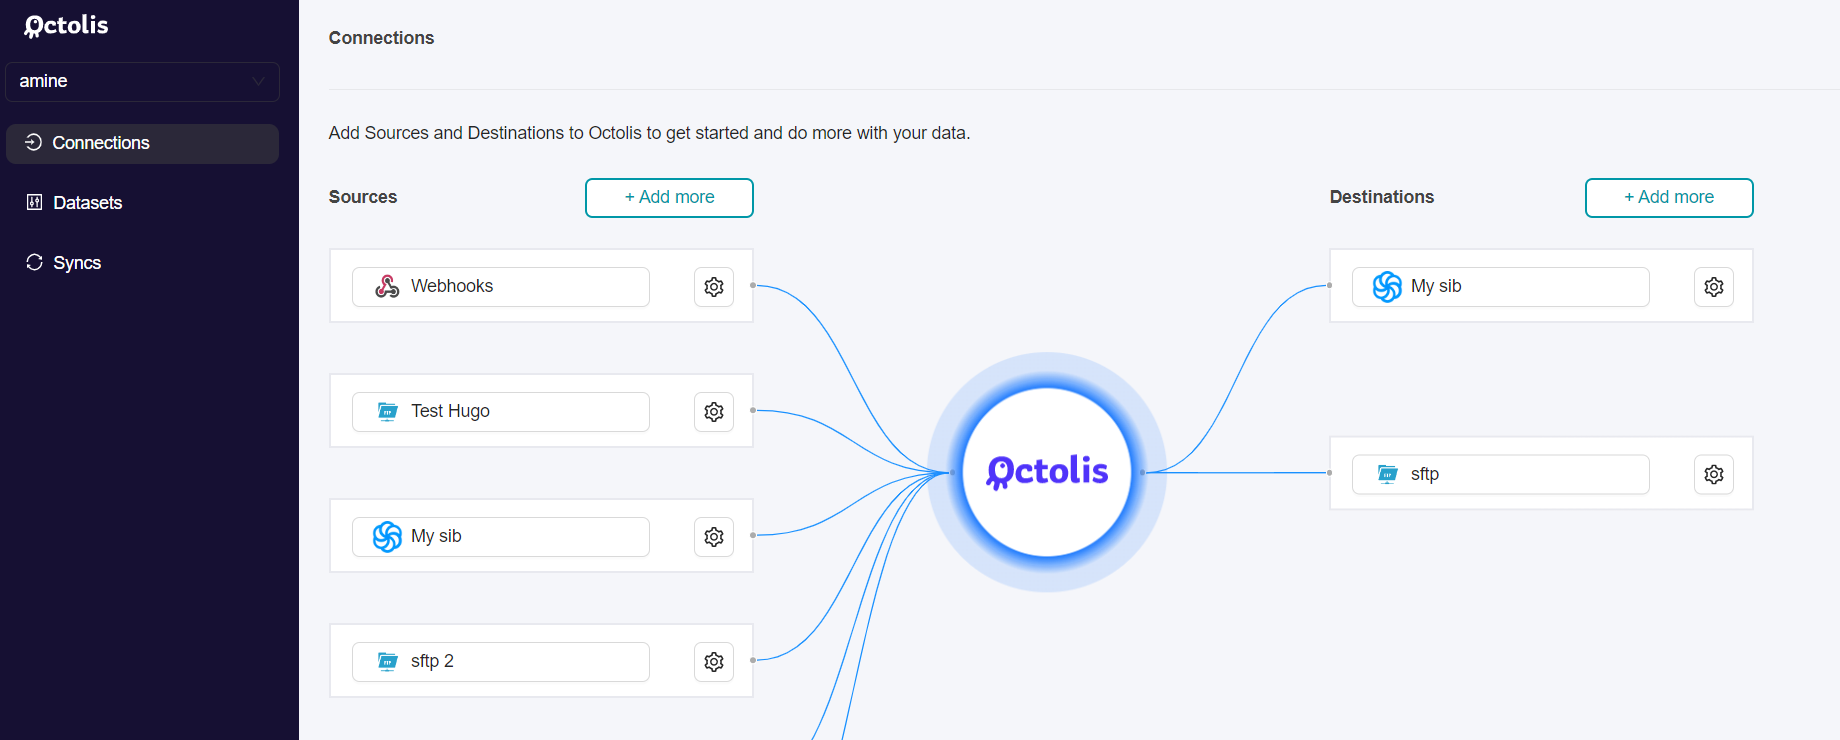
Step 1 - Go to the connection screen
Step 2 - Open the “Webhooks” box and click on
Add more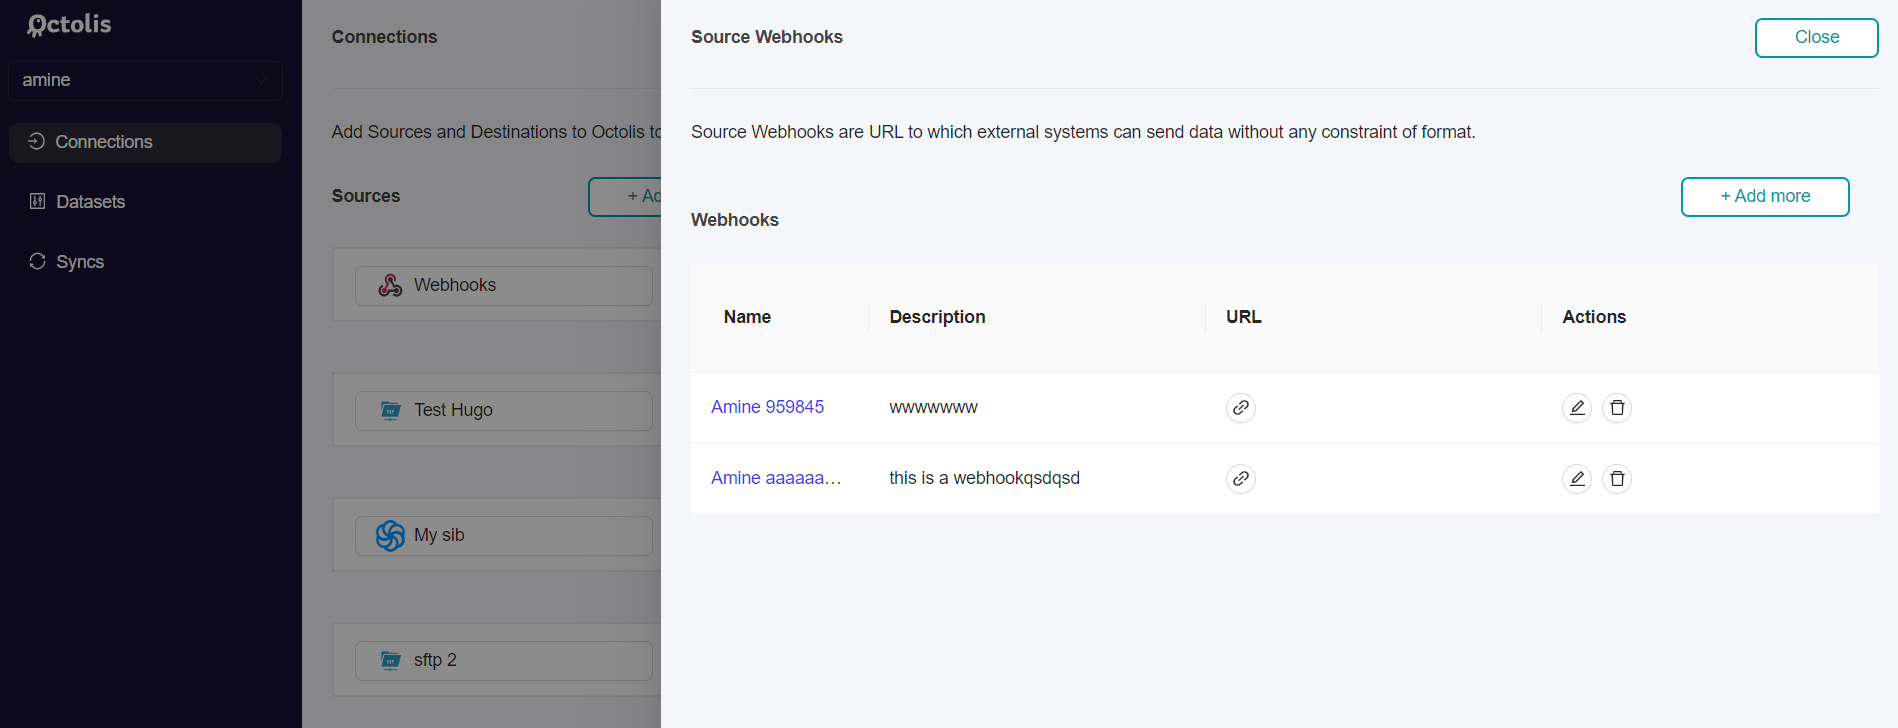
Step 3 - Fill in your webhook settings :
- Name
- Description
- Allowed methods (methodsWhitelist)
- Headers whitelist
- ipAddressWhitelist
Help you fill in the webhook settings with this part of the documentation.
After filling in all your parameters, click “Save Webhook”.
A modal will then show up, you just have to enter your API Key (Usually provided by the product owner)
You can copy your Endpoint (URL), paste it into the applications you want to link to the webhook and you are all set!
2 - Key Words
What is the API Key?
What is the Endpoint?
3 - How to integrate the API Key within the Endpoint?
To integrate the API key within the endpoint, you can include it as a query parameter.
For instance, in the given example:
https://api.octolis.cloud/v1/data/webhook/b11aa942-9ce7-4a8d-9d13-c7b389d40baf?api-key={{apiKey}}, the API key is denoted as {{apiKey}} and is appended to the endpoint URL using the ?api-key= syntax. The API key value should be replaced with the actual API key provided by the API provider or service. This way, when making API requests, the API key is included in the URL to ensure proper authentication and authorization.