
1. What is a Source?
A Source retrieves data from one of your Connections inside of a dataset.
For instance, a Source can be one of the following:
- A file inside of an SFTP (CSV file containing some contacts, JSON file containing events...)
- A Salesforce object (contacts, accounts...)
- A Zendesk object (tickets)
- A table/view of a database.
- One of your systems sends us records through Webhooks/API calls.
Sources can be configured to retrieve data incrementally at a near-real-time interval (every day, hour, or minute).
2. Add Source: FTP type
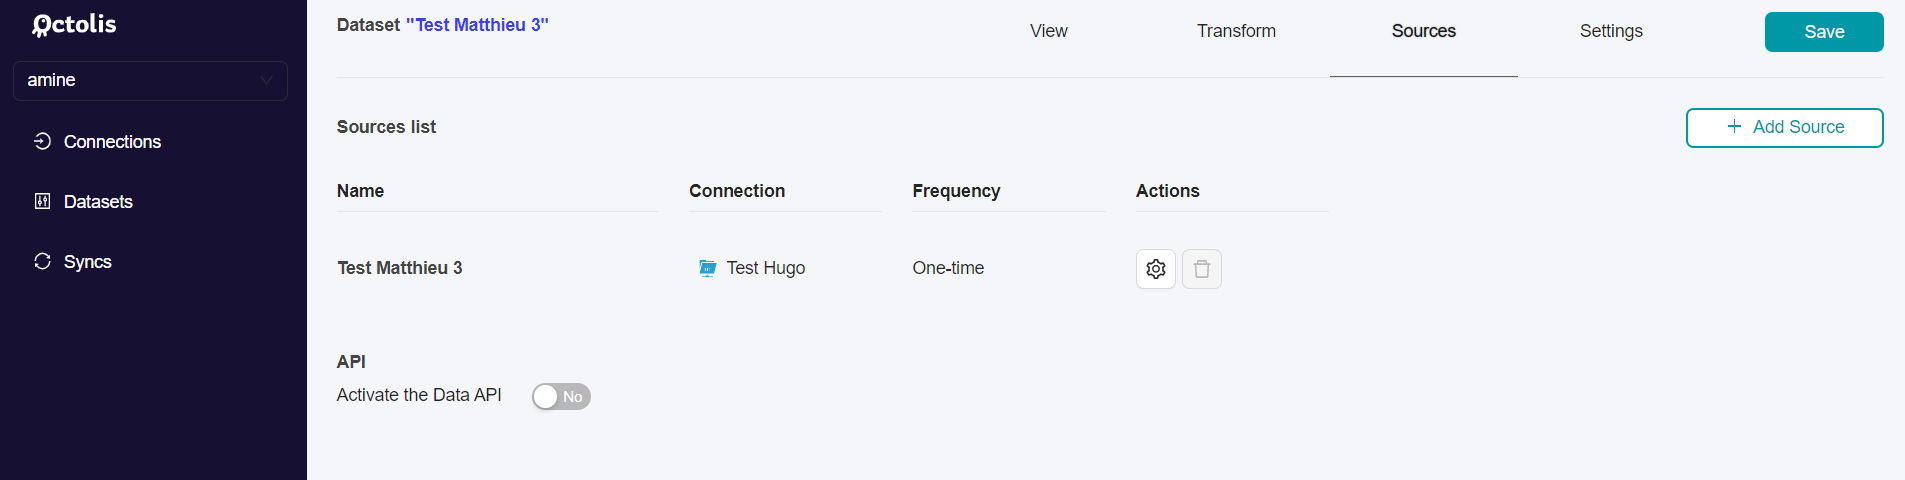
Step 1 - Add a new data source
For the first step, you can move to the section “Source” in the “Datasets” menu, and then click on the button “Add source” in the top right of the screen.

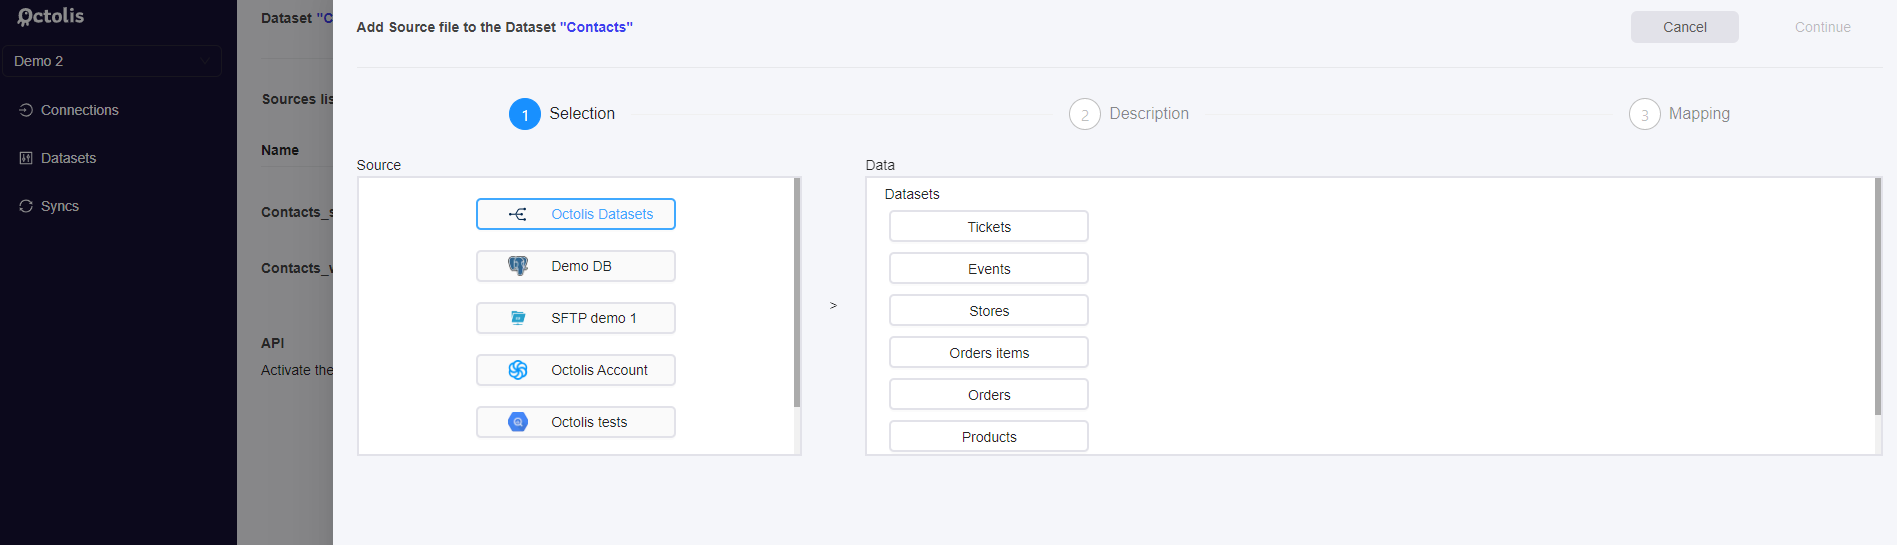
Step 2 - Choose the data source you want to add
You can choose a table from one of the Sources defined in the “Connectors” menu. Here, as we want to add an FTP-type source, we will select an existing FTP source in the folder “Octolis Datasets”.
Step 3 - Describe the data source
As you have already defined its settings while setting up the FTP connexion previously you just have to choose the frequency at which the dataset will be updated from this data source.

Step 4 - Define the link between data sources + Map the fields with your dataset
You are asked to choose how this second data source will be joined with the first data source: Which field(s) would make the link?
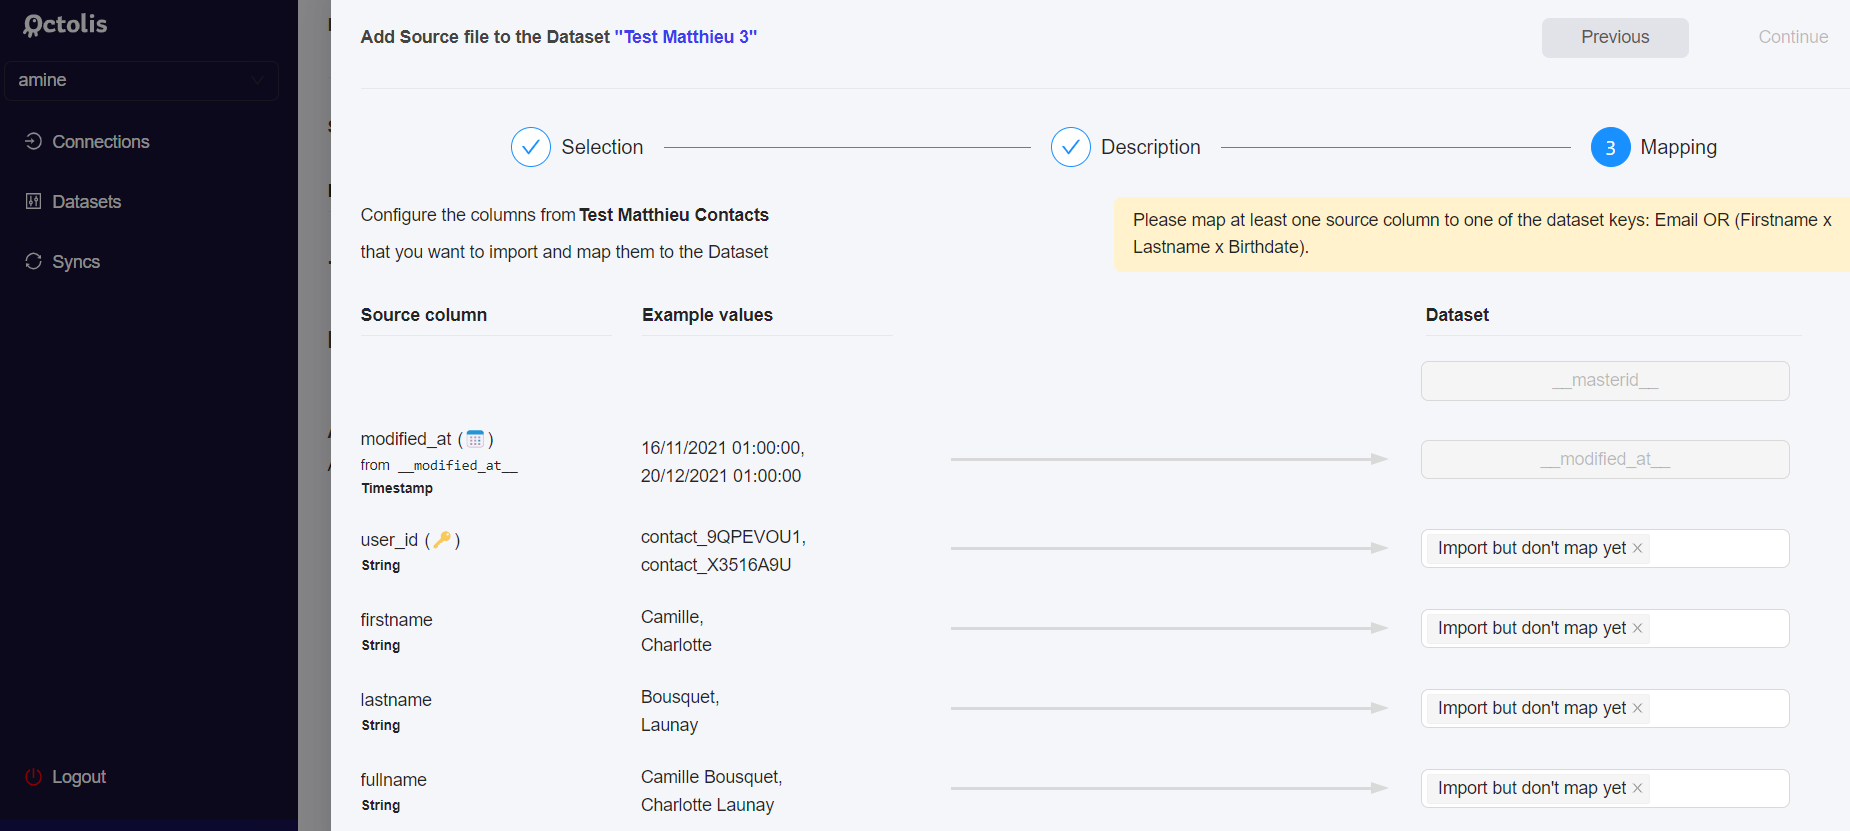
Once you choose a field, you can map the new data source with your dataset.
The first column of the dataset is based on the first data source. When you scroll down, you will see a button “Add column”. This button will allow you to add new columns to your dataset based on the second data source.
For example, if you have joined Contacts with Orders, you can add columns like the Date of the last order, Number of orders, Average amount in the last 30 days, etc.
Once you have added your columns based on the second data source, you can finish the process with the button at the top right.
3. Add Source: Connector Tool type
Step 1 - Add a new data source
For the first step, you can move to the section “Source” in the “Datasets” menu, and then click on the button “Add source” in the top right of the screen.
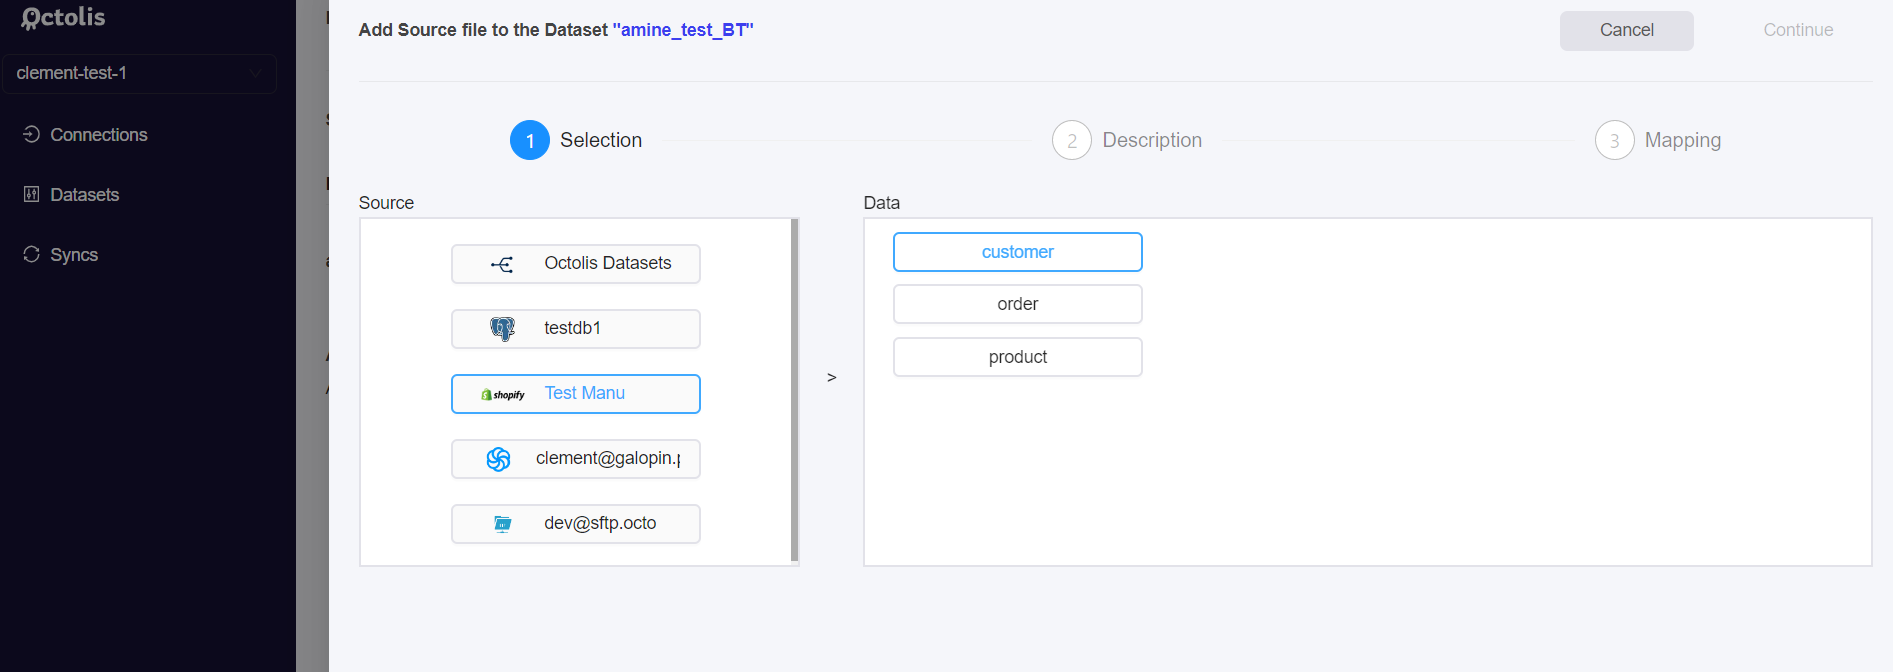
Step 2 - Choose the data source you want to add
You can choose a table from one of the Sources defined in the “Connectors” menu. In our case, let’s select Shopify as our connector tool.
Step 3 - Describe the data source
You are invited to :
- Give a name to this second data source that will enrich your dataset.
- Match the data source with a business category. The purpose here is to give a business sense to the data source.
- Define the “Key” or “Dedupe Key” (column which uniquely identifies a record).
- the main ID of your data source records (ex: “user_id”).
- a column (ex: “email”).
- a combination of columns (ex: “Firstname” x ”Lastname” x ”Postal code”).
It could be :
Warning: the “Dedupe key” cannot be changed once the dataset has been created
- Choose the frequency at which the dataset will be updated from this data source.

Step 4 - Define the link between data sources + Map the fields with your dataset
You are asked to choose how this second data source will be joined with the first data source: Which field(s) would make the link?

Once you choose a field, you can map the new data source with your dataset.
The first column of the dataset is based on the first data source. When you scroll down, you will see a button “Add column”. This button will allow you to add new columns to your dataset based on the second data source.
For example, if you have joined Contacts with Orders, you can add columns like the Date of the last order, Number of orders, Average amount in the last 30 days, etc.
Once you have added your columns based on the second data source, you can finish the process with the button at the top right.
4. Add Source: Webhook type
[Available soon]